Printlab Autodesk

5 – Idea Generation

In this Make:able toolkit, we’ll be guiding you in generating a vast array of design ideas, before selecting a key idea to take forward. Watch the overview video below before going through the sections to plan and implement your idea generation strategy.


* Remember that at this stage, we are thinking divergently to generate ideas and not detailed designs! For example, by the end of this toolkit, we might determine we want to design a tactile chess set but we don’t need to be thinking about it’s form and function until the next stage. 


Here are a range of methods you might use to generate and analyse ideas. Browse through and select ones that might be suitable for your challenge. To get to a final key idea, we recommend combining an idea generation method (icon sketching, group brainstorm) with an idea analysis method (priority diagramming, dot voting). Again, you don’t have to stick to the methods in this toolkit – feel free to explore others.


* If possible, see how you can integrate your end user into the idea generation phase. It can be a great idea to design with them rather than for them.


Icon Sketching

Icon sketching is a visual brainstorming activity where you draw out ideas as basic icons, within a limited space and in a set time period. This ensures you don’t focus too much on detail because the aim is to go for quantity over quality. Download the template below and read the instructions to get started.

Download Template

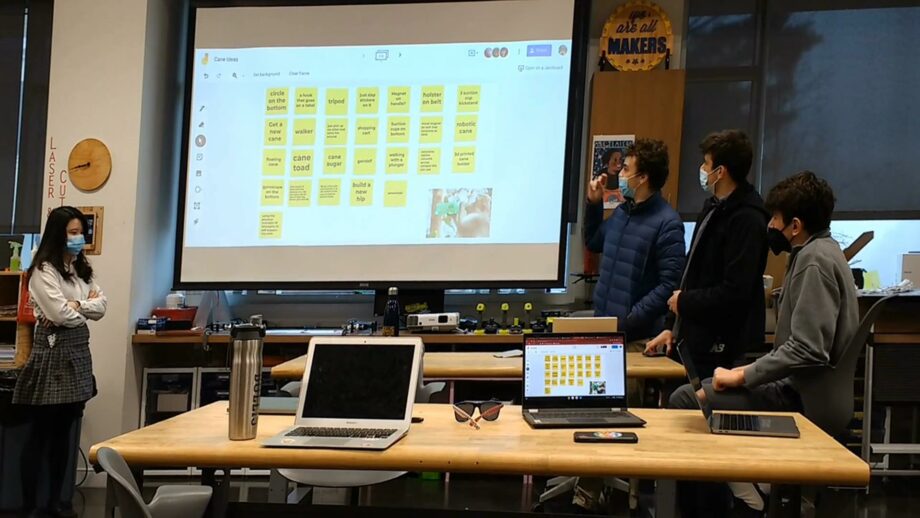
A team of students presenting a brainstorm on a projector screen.

Group Brainstorm

The group brainstorm activity is for teams generating ideas to any given question or problem. It focuses on the notion that everyone should have a say and there are no right or wrong answers. Download the group brainstorm instructions below.

View Instructions

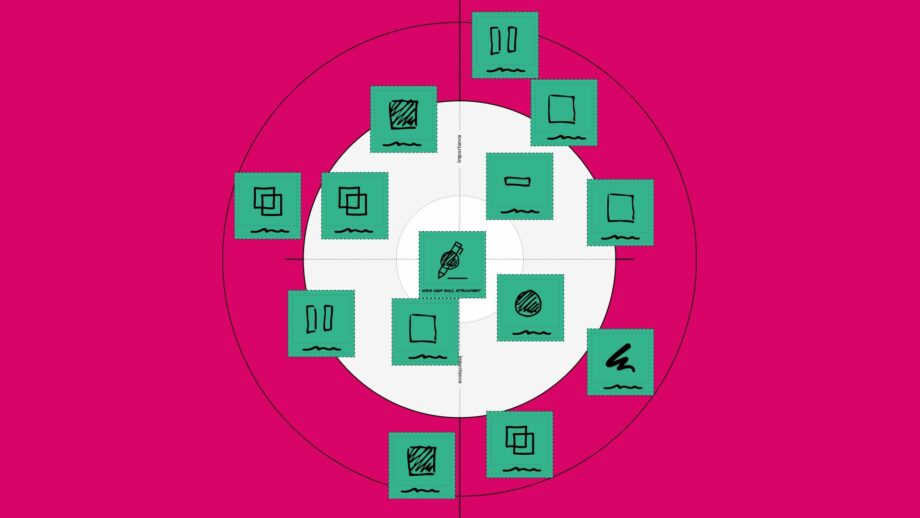
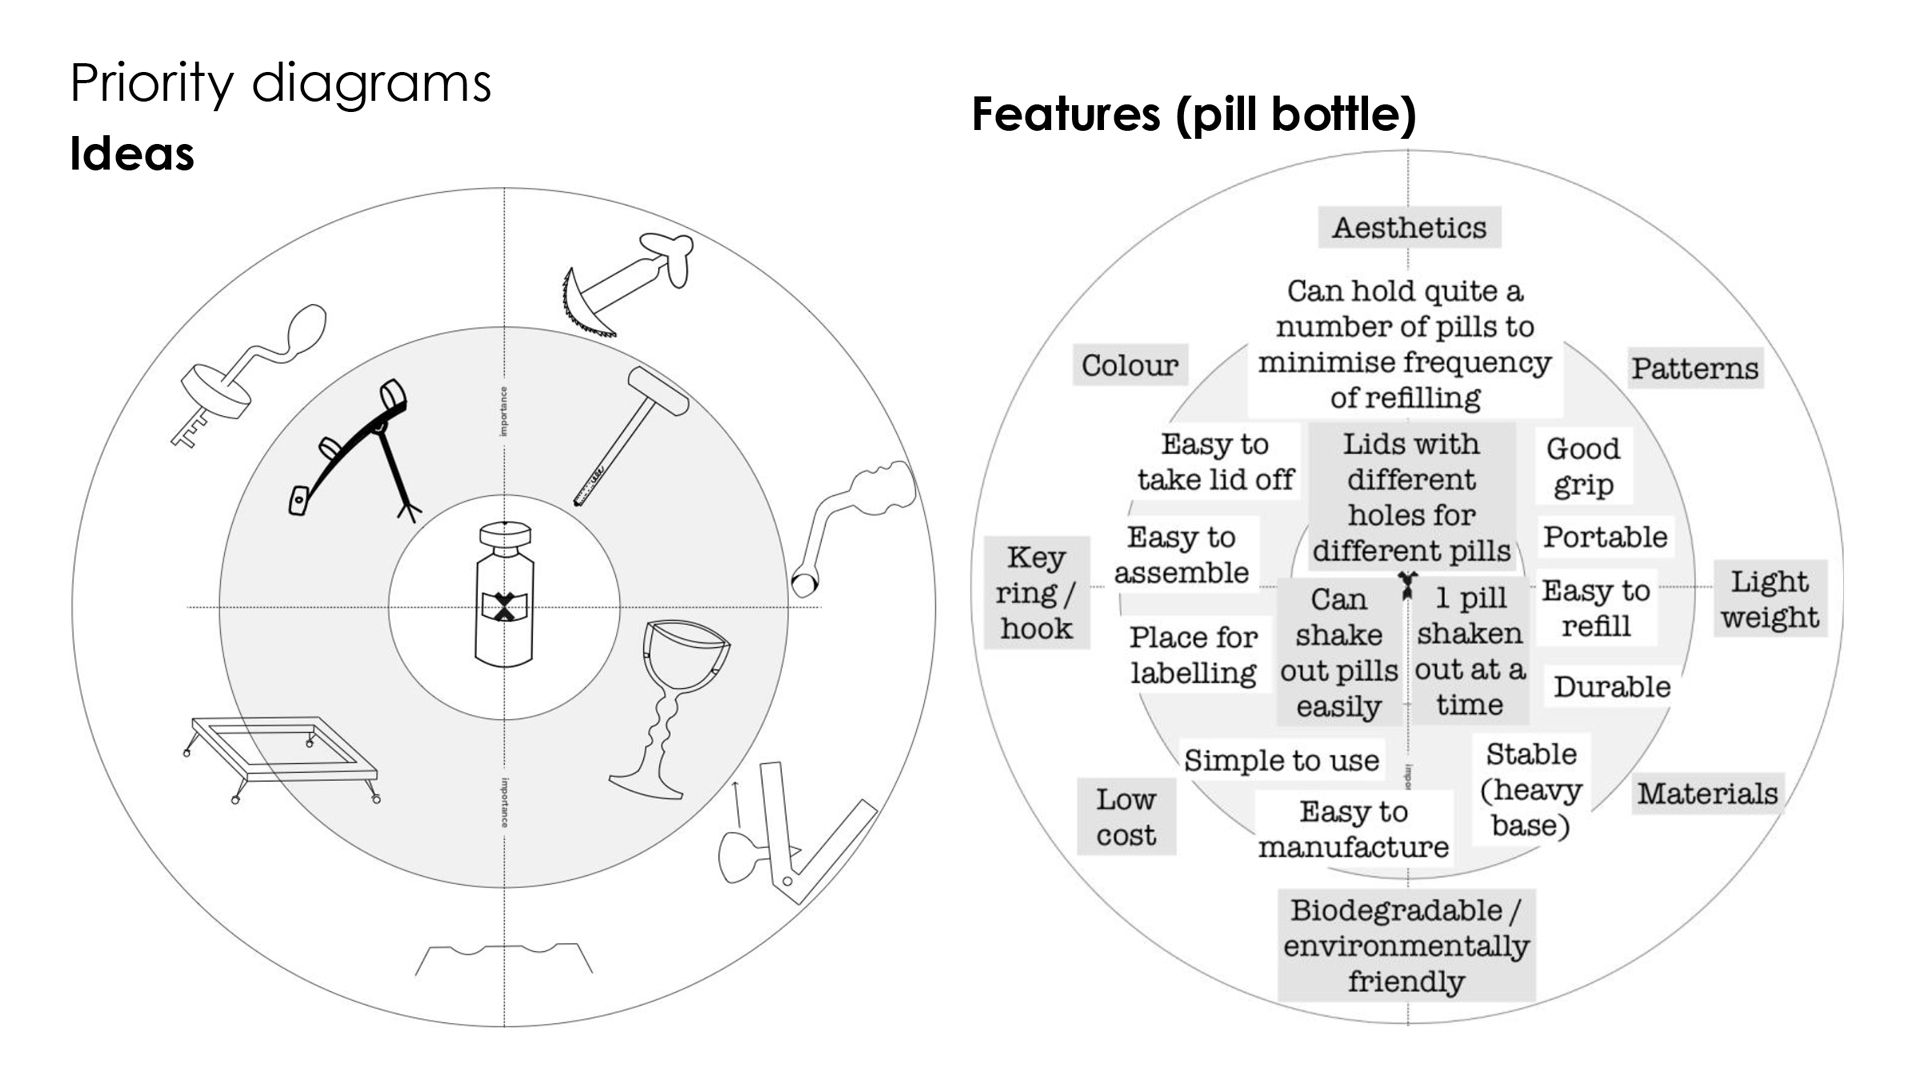
An example priority diagram.

Priority Diagramming

Priority diagramming is a method that helps you to analyse and map out your ideas in order of importance, to determine a key idea to take forward. It should be used in combination with a practical idea generation method such as icon sketching or group brainstorming. Download the priority diagramming instructions below.

View Instructions

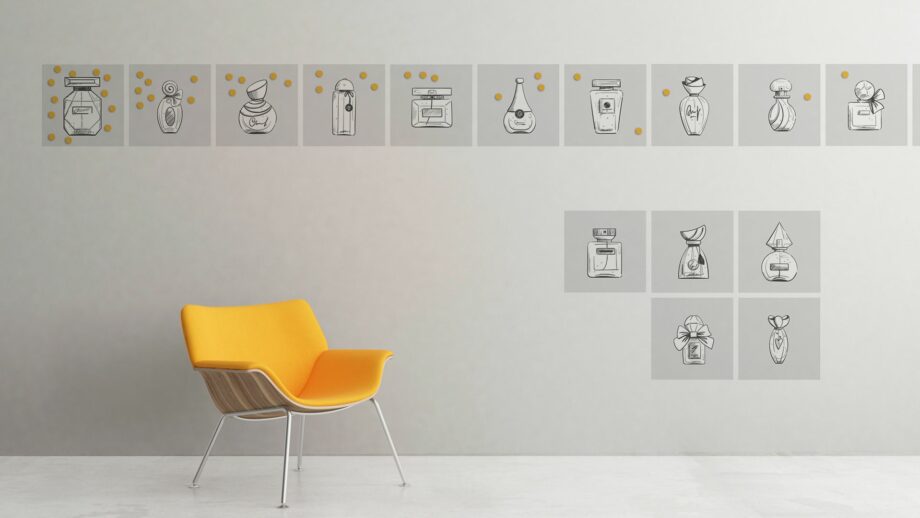
A wall with perfume bottle sketches stuck to it and voting dots placed on them.

Dot Voting

Dot voting is another effective method used by teams to determine favourite ideas/solutions. The method is based upon using sticky dots (or digital dots) to vote on a given set of data. It’s biggest benefit is that it gives every group member an equal chance to participate in the decision making process. Download the dot voting instructions below.

View Instructions

Workbook
  • In the ‘Ideation Methods’ area of Section 5, select the checkboxes of the methods you intend to use. There are blank spaces included in case you want to list/use methods that are not highlighted in the toolkit.

Here are a variety of tips and strategies to consider for your idea generation phase. As you browse through, make notes of any key points that could help you in generating and analysing ideas.

Steven Parkinson from Autodesk.

Your First Idea

Steven Parkinson, Project Programme Manager at Autodesk, talks to us about not falling in love with your very first idea.

Watch Video

A photomontage of a bicycle with a pentagon shape as the front wheel.

Don't Reinvent the Wheel

When generating ideas, have a computer nearby where you can research existing solutions in the market. Take inspiration from them but try not to reinvent the wheel. Think creatively about how 3D printing can be used to innovate and create fresh, new solutions!

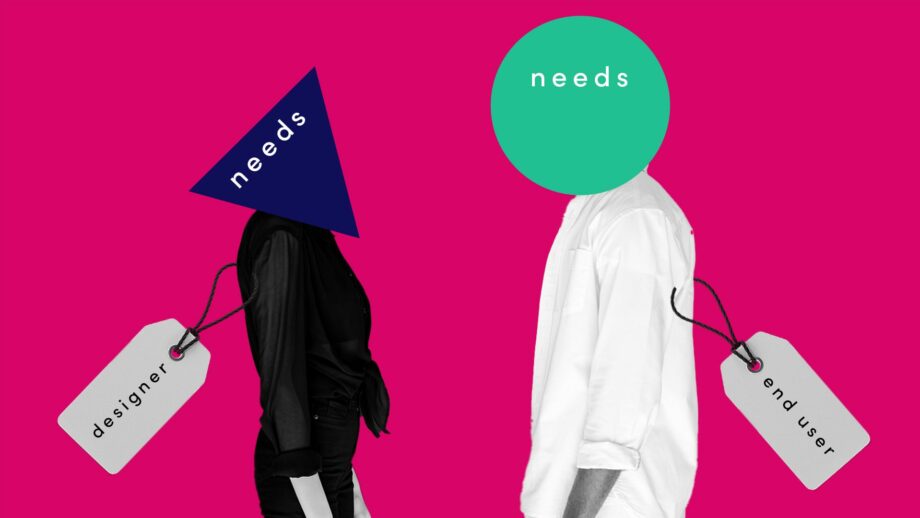
Abstract photomontage of 2 people facing each other the a triangle and circle shape replacing their heads. The shapes have the text 'needs' on them.

Driven by Empathy

Remember that you’re designing for someone who might have completely different needs, tastes and desires to your own. So make sure to use your empathy studies to drive your ideas.

Ruby Steel from Studio Exception

Crazy 8's Method

Ruby Steel from Studio Exception talks to us about another fun idea generation called Crazy 8's. We also recommend taking a look at the Studio Exception website (https://www.studioexception.com/) to learn about their innovative approach to design.

Watch Video

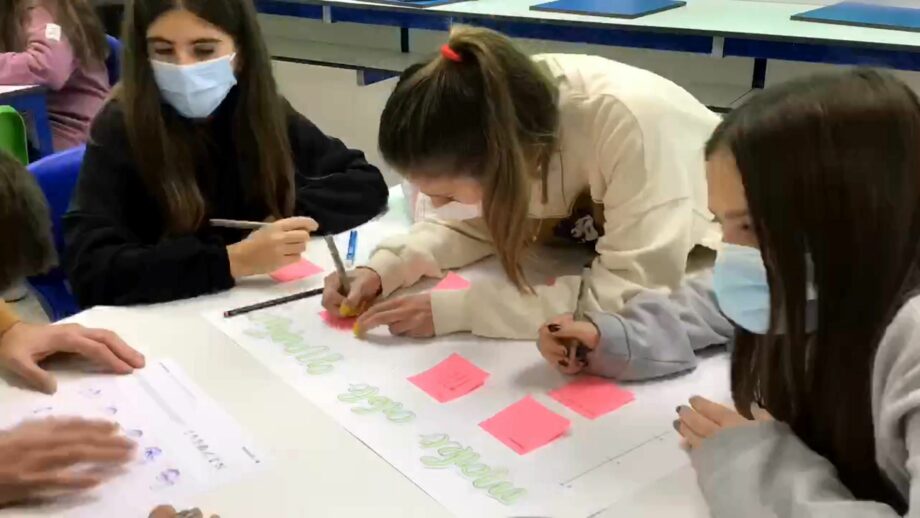
A team of students collaborating on a challenge map.

Team Dynamics

When generating ideas, work to your team's dynamics. Some teams might prefer individual ideation time, followed by group analysis. Others might work better brainstorming together.

Photomontage of a young person wearing a helmet with a lightbulb on top.

Wild Ideas

In addition to practical ideas, include wild unconventional ones that might help you go beyond the obvious to uncover new and exciting perspectives. Many great solutions are an amalgamation of both wild and practical ideas so don’t forget to experiment with this.

Workbook
  • In the ‘Ideation Tips’ area of Section 5, write down 3 key tips to remember/consider when generating and analysing ideas.

In this section, we highlight several examples of how other teams have documented the idea generation phase. Browse through the gallery and make note of how you could document your own journey. Once you’ve completed this task, go ahead and start generating and analysing your ideas! Remember that the goal is to finish the task by identifying a key idea to take forward.

Camera Pan

A simple way to document your idea sketches is to simply pan your camera across your work. If using this technique, move slowly and try to keep as stable as possible.

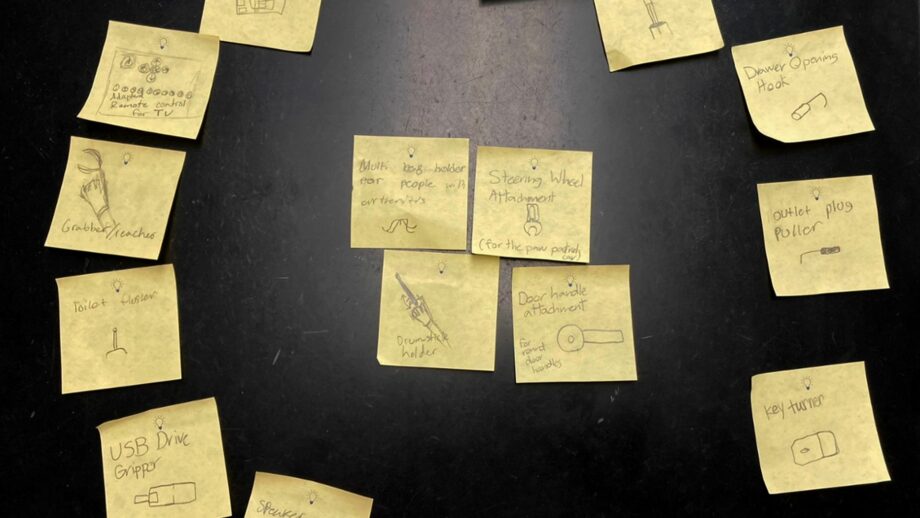
A range of idea sketches on post-it notes.

Still Images

An alternative technique to document written or drawn ideas is to simply take still images. When it comes to editing your final video, you can either insert them as stills, or add slight zoom effects for a more dynamic look.

Process

Consider documenting the actual process of generating ideas – whether this be drawing or brainstorming. When doing this, you may want to keep the camera in a static position so you can focus on the task at hand.

Digital

If doing brainstorms or other idea generation methods digitally, the obvious technique is to screen record the process. However, also consider action shots taken from the background that help to capture the collaborative nature of your project.

Charts

Did you create physical documents like idea charts? Consider pinning them up in a well lit area and explaining them.

B-roll

We introduced you to b-roll in the empathy section, and it’s also important in each stage of your journey. In this example, the team captured some secondary footage of them doing some online research. With b-roll, go for quantity! You’ll be glad you did this at the end of your journey.

Workbook

Before you implement your idea generation strategy:

  • In the ‘Documentation Strategy’ area of Section 5, write down how your idea generation phase will be documented.


After you’ve completed your idea generation strategy:

  • In the ‘Ideas’ area of Section 5, upload 4 key images from your ideation phase. This might be photos of your sketchbooks, brainstorming sheets, priority diagrams etc. Ensure the bottom right image focuses on your key idea. For best results, upload square ratio images.
  • Write a summary of your ideas in the space provided, and a short statement about your key idea in the other space provided.

The final step before we move on to the next toolkit is to refine your list of design criteria. Now that you have a key idea in mind, you can begin adding more specific criteria to your initial list. These should be driven by both your empathy and ideation studies, and might include points about ergonomics, weight, size, shape, aesthetics, cost etc.

Design criteria can be set out as a basic text list, but we recommend using the priority diagramming method again. Rather than mapping out ideas onto the bullseye chart, you can map out design criteria/features and place them in order of importance. The most important criteria are listed in the middle, and less important criteria are listed in the outer areas. Check out example on the right below and use it as inspiration to refine your own design criteria.


Workbook
  • In the ‘Refined Criteria’ area of Section 5, map out your refined design criteria. There are a whole range of spaces for you to insert criteria. Don’t feel the need to fill in every space, but ensure you write your criteria in the correct position depending on its importance. (most important criteria towards the centre, less important criteria in the outer areas).

Here is a selection of optional resources that you may wish to watch/use, depending on your challenge context and time constraints.

PrintLab's lead designer, Rob, showing Cath some sketch ideas of an elephant fidget device on an iPad. The title 'Idea Generation' is overlaid in white bold text.

Rob's Challenge

In this stage of Rob’s Make:able Challenge, he shows how he uses his empathy studies to drive a range of initial design ideas.

Watch Video

Advert of Steven Parkinson's Keynote on Design Thinking in STEM Education at the 3rd STEM Best Practice Summit held on 25th September 2021.

Design Thinking in STEM education

Watch a Keynote by Steven Parkinson from Autodesk on the topic of "Design thinking in STEM education’. The presentation not only covers the basics of design thinking, but it shows how to think differently about briefs to generate unique and creative ideas.

Watch Video


Before moving on to the next toolkit, you should have achieved the below objectives.

  1. I used divergent thinking to generate a broad range of design ideas.
  2. I used convergent thinking to narrow design ideas down to a single key idea.
  3. I determined necessary design criteria and features based on my end user’s needs and wants.

If you are using the workbook, you can tick these off at the bottom of Section 5, and make note of any key learnings or important things to remember.


Go to Next Toolkit – Prototype